mirror of
https://github.com/Luzifer/past3.git
synced 2024-11-12 17:52:42 +00:00
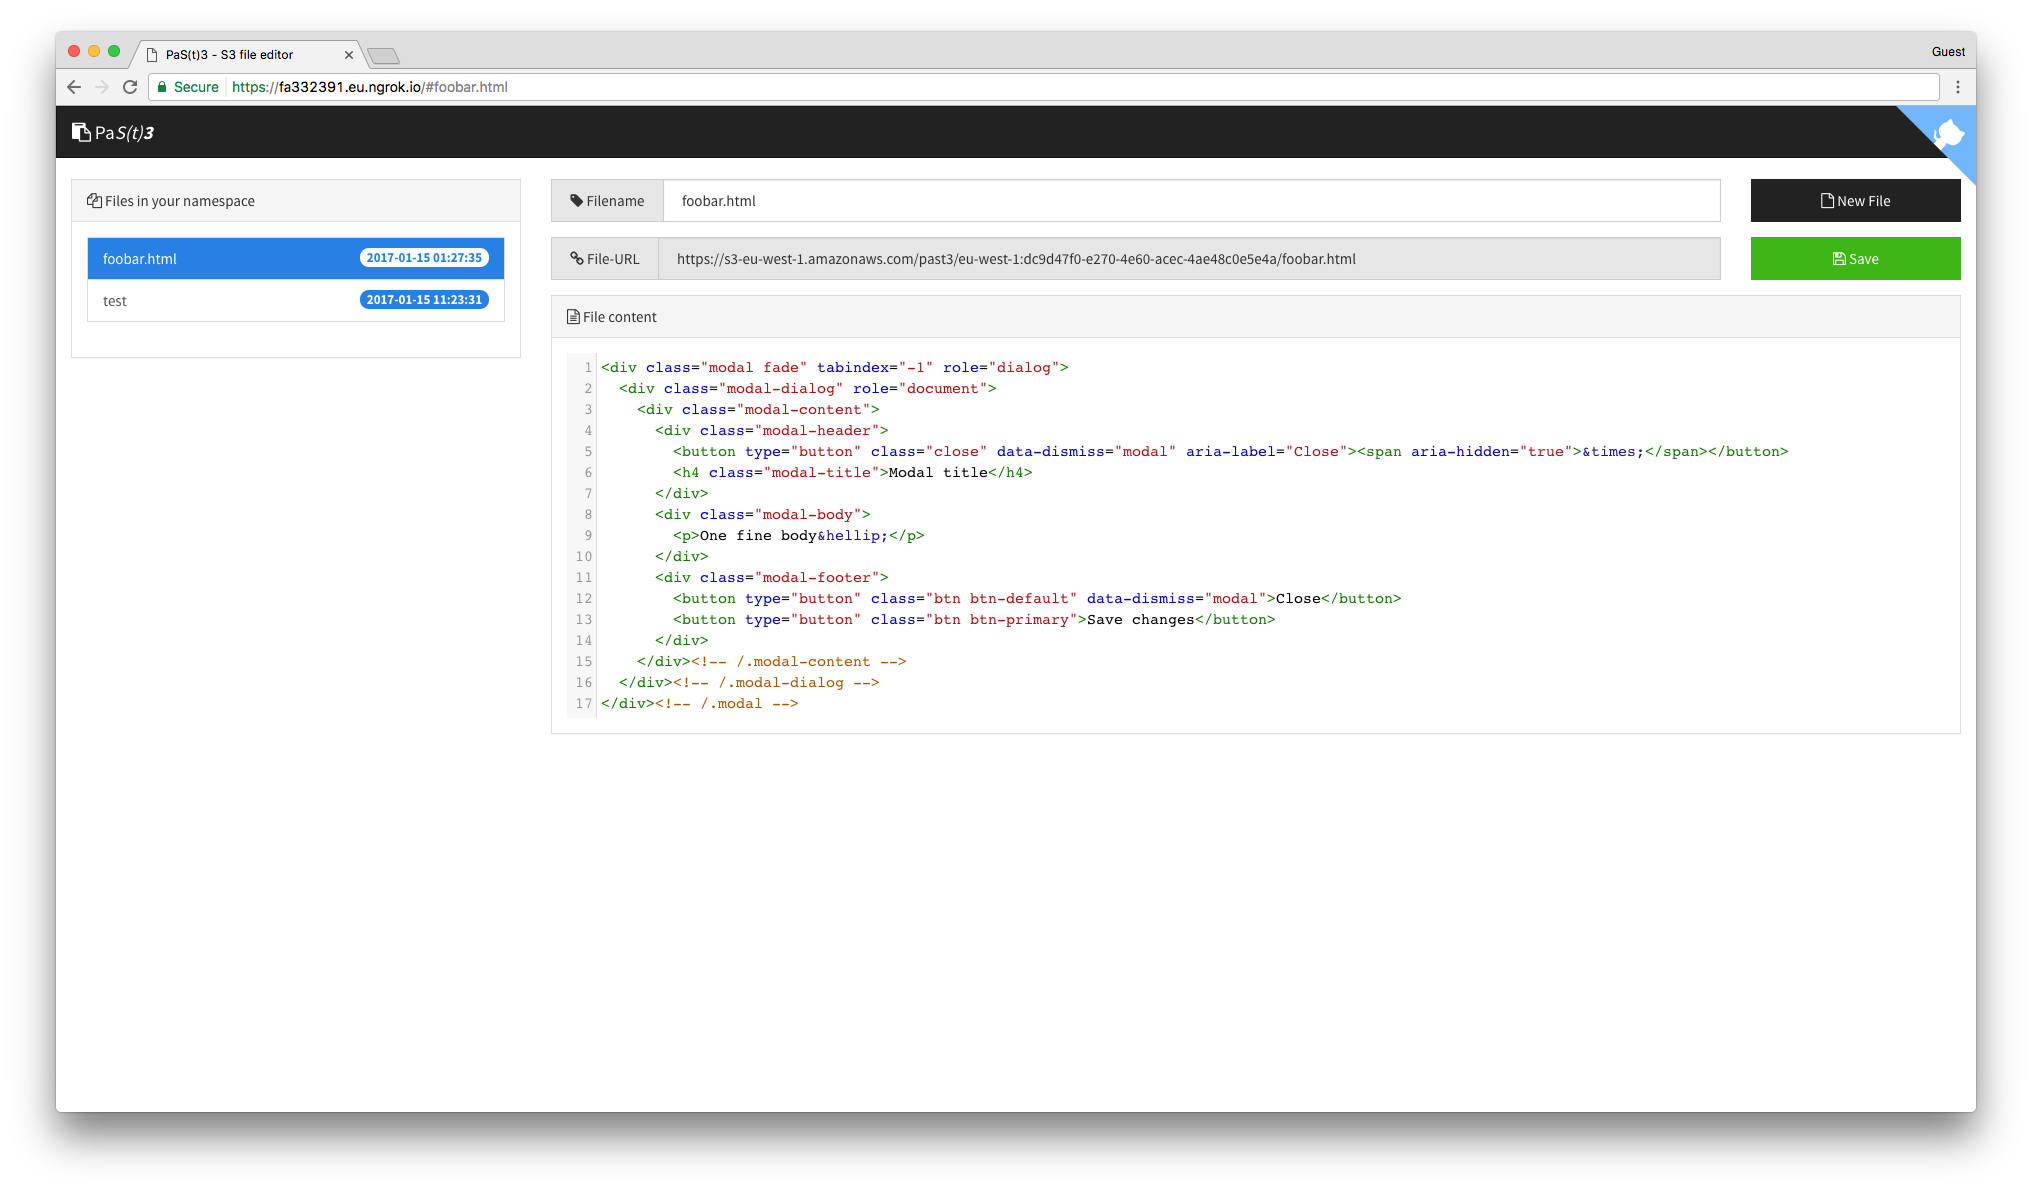
PaS(t)3 is a S3 file editor with Google authentication using Amazon Cognito.
| .babelrc | ||
| .gitignore | ||
| app.js | ||
| cognito_auth_policy.json | ||
| config.yml | ||
| cors.xml | ||
| generate.py | ||
| History.md | ||
| index.html | ||
| Makefile | ||
| package-lock.json | ||
| package.json | ||
| README.md | ||
| requirements.txt | ||
| screenshot.png | ||
Luzifer / PaS(t)3
PaS(t)3 is a S3 file editor with Google authentication using Amazon Cognito. It does not require a server to run but can be deployed into a S3 bucket. Files edited are also stored in a (possibly the same) S3 bucket.
Setup
- Create a project in the Google Cloud Console
- Add an oAuth consent screen for your application (API Manager -> Credentials)
- Create credentials for a "Web application", add your URL as an "Authorized JavaScript origin"
- Put Client Id into the
config.yml - Create a S3 bucket and add the CORS policy
- Create an Amazon Cognito Federated Identity Pool
- Add the policy documented in
cognito_auth_policy.jsonas "Authenticated Role" - Set the Google Client ID in the Google+ tab in "Authentication providers"
- Note down the Idenitiy Pool ID in the
config.yml - Go through the
config.ymland adjust parameters - You may need to execute
pip install -r requirements.txtas next step needs three python modules - Execute
makewhich will generate apublicfolder with all required files - Upload the contents of the
publicfolder